Connect to your IDE
Register HiAUDIT as an MCP server in your AI-powered code editor.
Register HiAUDIT as an MCP server in your AI-powered code editor.
HiAUDIT works as an MCP (Model Context Protocol) server inside AI-powered code editors. Run one command to register it with all supported tools:
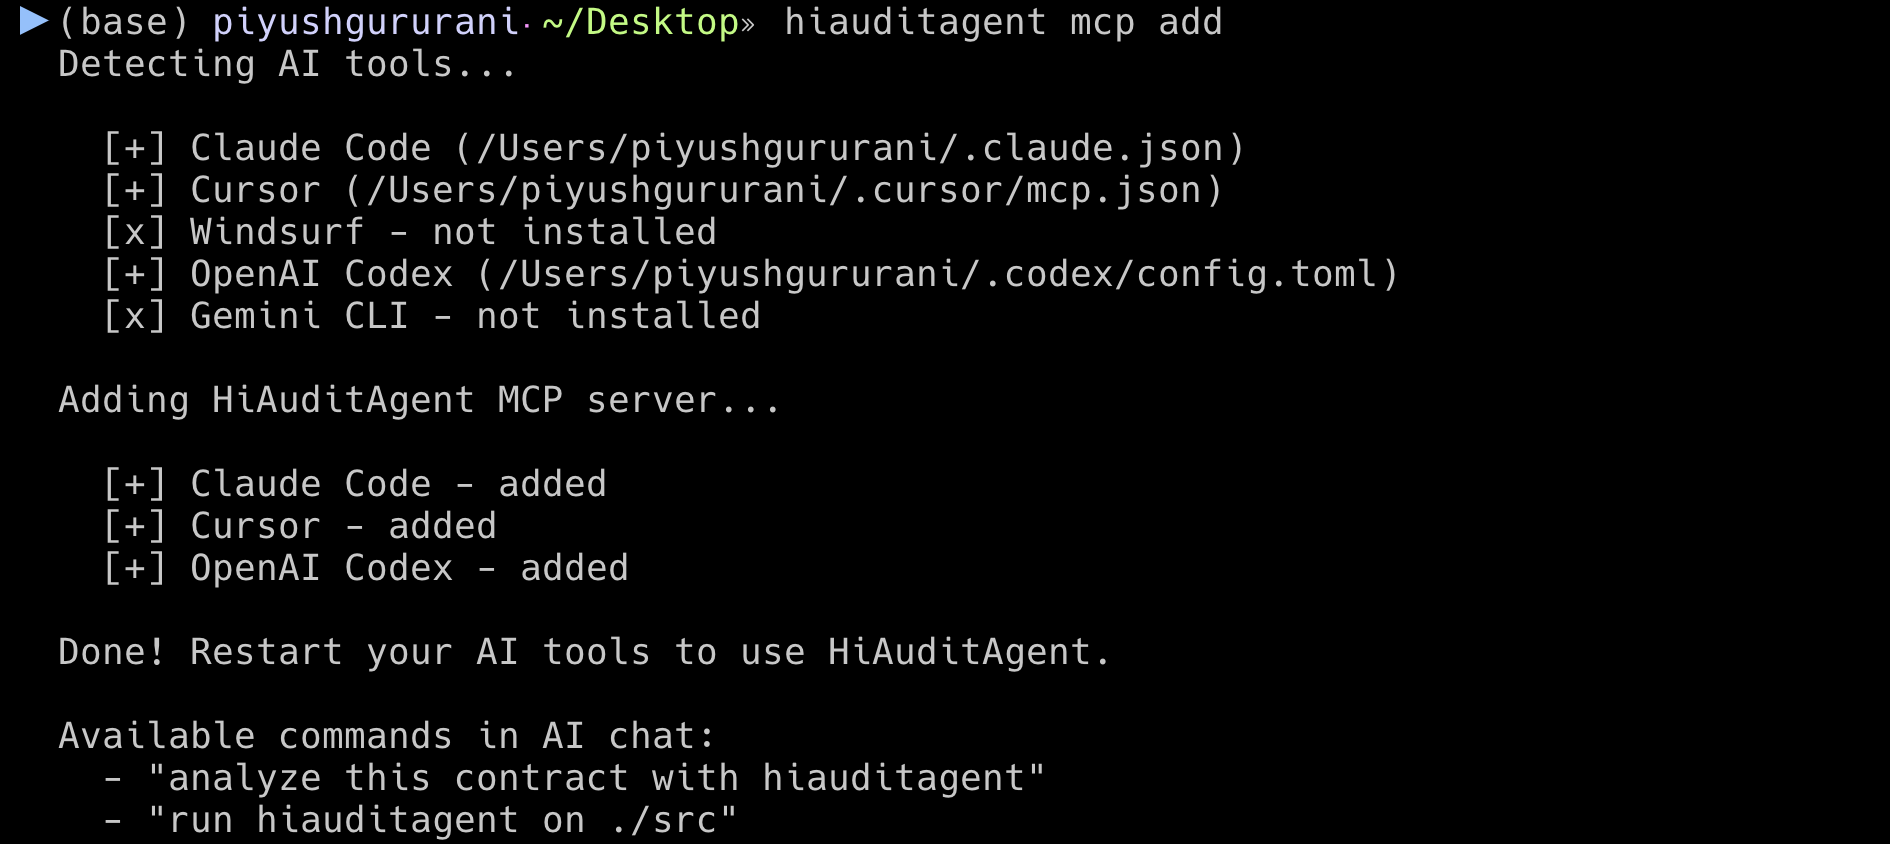
hiauditagent mcp addThis auto-detects which tools you have installed and adds the HiAUDITAgent MCP server to each one. After running, restart your editor.
The command reports which tools it detected and which ones it configured:
| Tool | Config file updated |
|---|---|
| Cursor | ~/.cursor/mcp.json |
| Claude Code | ~/.claude/mcp.json |
| Windsurf | ~/.windsurf/mcp.json |
| OpenAI Codex | ~/.codex/mcp.json |
| Gemini CLI | ~/.gemini/mcp.json |
Tools that aren’t installed are skipped (shown as [x] not installed).
If you prefer manual configuration, add a hiauditagent server entry to your IDE’s MCP
config file with command set to hiauditagent and args set to ["mcp", "serve"]:
{
  "mcpServers": {
    "hiauditagent": {
      "command": "hiauditagent",
      "args": ["mcp", "serve"]
    }
  }
}
After restarting your editor, it will discover the HiAUDIT MCP server and can start calling its tools from chat.
You’re ready to run your first audit.